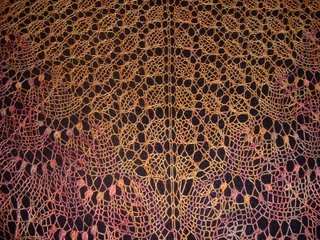
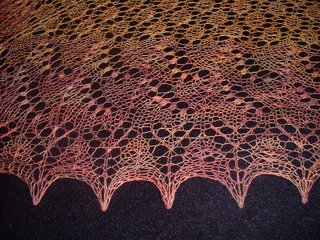
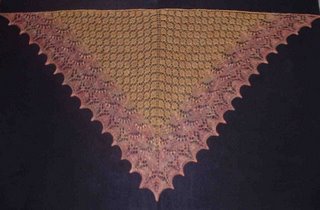
 The Swallowtail Shawl is completed! I used two colors of Kaalund Enchante 100% silk laceweight, Silky Oak and Nectarine. Kaalund is an Australian brand, and I purchased it from Greenwich Yarn in San Francisco.
The shawl begins at the top center and is worked outward. The main body is in a Budding Lace pattern, followed by two tiers of the Lily of the Valley border and is finished with a Peaked Edging.
I'd have to say that this is a fast knit compared to other lace shawls I have made. It took less than a month to complete, and I was working on other projects as well, so I didn't work on it every day. 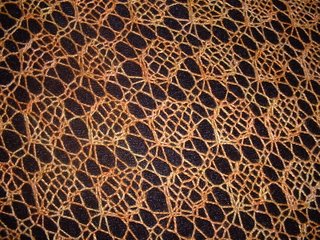
My best decision was made before I began. I chose two colors and wanted a subtle transition from one to the other. I wanted to achieve a "sunset" effect, and I'm pleased with the outcome.
The first part in the Budding Lace pattern is all in the color Silky Oak. The color change occurs in the first tier of the Lily of the Valley border. I knitted two rows of Silky Oak and two rows of Nectarine, then two rows of Silky Oak and two rows of Nectarine again. These two dyelots have a common golden color, so the transition was as subtle as I had hoped. I also like the way the nupps in the transition section are multicolored as a result of the color changes. 
I've read about the "nupps" on various blogs. The general knitter consensus seems to be: we love how they look, but we hate making them. I think the roundness of the true nupp makes a difference. True nupps are five stitches purled together (p5tog). Slip 2, purl 3 together and pass the slipped stitches over is another way of accomplishing a nupp, but the shape is slightly different and not quite as round. See my previous post to learn how I accomplished these round nupps without going crazy.
The second tier of Lily of the Valley and the Peaked Edging is worked completely in Nectarine. 
Blocking was fast and easy. I threaded a 1/16" welding rod through the eyelets at the top edge and secured the rod to my blocking board, making sure the right and left corners were pinned down tightly and placing just a few pins under the rod to keep it straight and even. Then I pulled the bottom point down as far as it would go and pinned it to the board.
After that, I pulled the center point of one side out and pinned it, then switched to the other side and pinned the center point, stretching hard each time to open up the lace. I continued in this manner, pulling out a point on one side and the corresponding point on the other side, taking care to keep the points evenly spaced.
After every point was pinned, I went all the way around making minor adjustments to the pins, because as I stretched the lace, some points pulled a little too much to the left or right and I wanted them to point straight out.

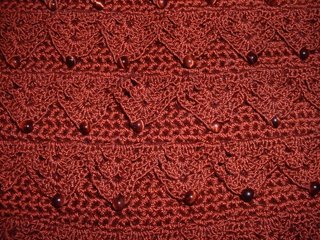
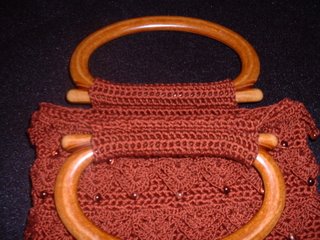
 This Victorian-inspired crochet bag was designed by Doris Chan for the Fall 2005 issue of Vogue Knitting. I had made the bag this past April, but it was never finished because I hadn't found the right handles. That is, I didn't find any that I liked until just recently, when I happened upon some lovely Crystal Palace handles at Cottage Yarns in South San Francisco.