Monday, January 15, 2007

A Big Cone of Yarn for a Shetland Shawl

This is what happens when you buy a gigantic cone of wool/silk yarn from eBay. Yes, it's 50% wool and 50% silk, just like the well-known Zephyr by Jaggerspun.

But had I read the description more carefully, I would have noticed that the weight in the eBay listing was 2/23. So, what's wrong with this picture?

The wool I bought is lovely, but it is NOT from Jaggerspun. Jaggerspun Zephyr comes in 2/18 lace weight. (It also comes in DK weight.) This cone of yarn at 2/23 is somewhat thinner than the Jaggerspun Zephyr.

The seller called this yarn Zephyr, because that is what's on the label. In fact, if you hunt around, you'll find many different companies have a yarn called "Zephyr." So, what did I get for my $20?

How to Determine Yards Per Pound from a Cone Label


The cone label says the yarn is from Phoenix Dye Works in Cleveland, Ohio. The yarn weight on the label is 2/23. The actual weight is about 2.5 lbs, including the cone itself.

Jaggerspun lists its 2/18 wool/silk at 5,040 yards per pound. I know that 2/23 is a skinnier yarn, and is going to have more yards per pound. So how many yards of yarn did I buy? And how does 2/23 yarn compare to 2/18 yarn?

The first number of the fraction is the number of plies. A ply is a single strand, so I have two plies.

The second number of the fraction is the yarn thickness. The yarn thickness is determined by the number of times the yarn is spun at the worsted standard of 560 yards per pound.* (Cotton and linen use a different standard.)

The yards of yarn on my 2/23 yarn cone, which weighs about 2.5 lbs, could be calculated like this:

Multiply the bottom number times 560:

23 x 560 = 12,880

12,880 divided by 2 plies = 6,440 per pound

6,440 x 2.5 lbs (total weight) = 16,100 yards (wow!)

I don't know how much the cardboard cone weighs, but I would need to subtract it from the total weight to get an accurate number of yards. A good estimate would be about 0.10 lbs for the cone. In that case, I would substract 0.10 from the total weight of 2.5 lbs. Then I would calculate:

6,440 x 2.4 lbs (total weight minus the cone) = 15,456 yards.

Truthfully, I will probably never use the entire cone of this yarn, even it were less than 10,000 yards.

*Note: After some additional reading, I corrected the worsted standard to 560 yards per pound. This seems to be the most often used number. Some websites use 500, but that seems to be the minority.

The Shetland Lace Shawl

I decided to knit Shirley Paden's Shetland Lace Shawl from Vogue Knitting Fall 2005 with my now infamous Zephyr yarn. This must be my favorite issue of VK, since I've made at least three items from it.


If you recall, the lace shawls in this issue did not come with charts! Lace knitters around the world were up in arms about this. If you are a lace knitter, you know what I mean. Vogue called it a print space issue and promised to post the charts on their website.

For me, charts are a necessary part of any lace pattern. If a pattern doesn't have a chart, I'll make one myself. A chart allows you to see where the increases and decreases fall in relation to the previous row. Have you ever tried to knit a lace pattern like this?:

Row 16: 1 selvage st, k2, yo, k2tog, k1, yo, sk2p, *yo, k1, k2tog, yo, k3, yo, k2tog, k1, yo, sk2p; rep from *, end yo, k1, k2tog, yo, k2, 1 selvage st

Imagine reading rows and rows of this, without seeing on a chart where the yarnovers are supposed to line up with the previous row's yarnovers.

And, to make it even tougher, this is a Shetland lace pattern, with knitted lace on every row -- no plain rows. Technically, "knitted lace" is lace on every row. "Lace knitting" is lace on every other row, with plain knitting on the alternate rows.


It took a few months before VK finally published the charts for the Fall 2005 lace shawls on its website. The Shirley Paden Shetland Lace shawl was my favorite. I began to knit with a size 6 needle, then decided the gauge was too large and ripped it out. I settled on a size 4 needle.

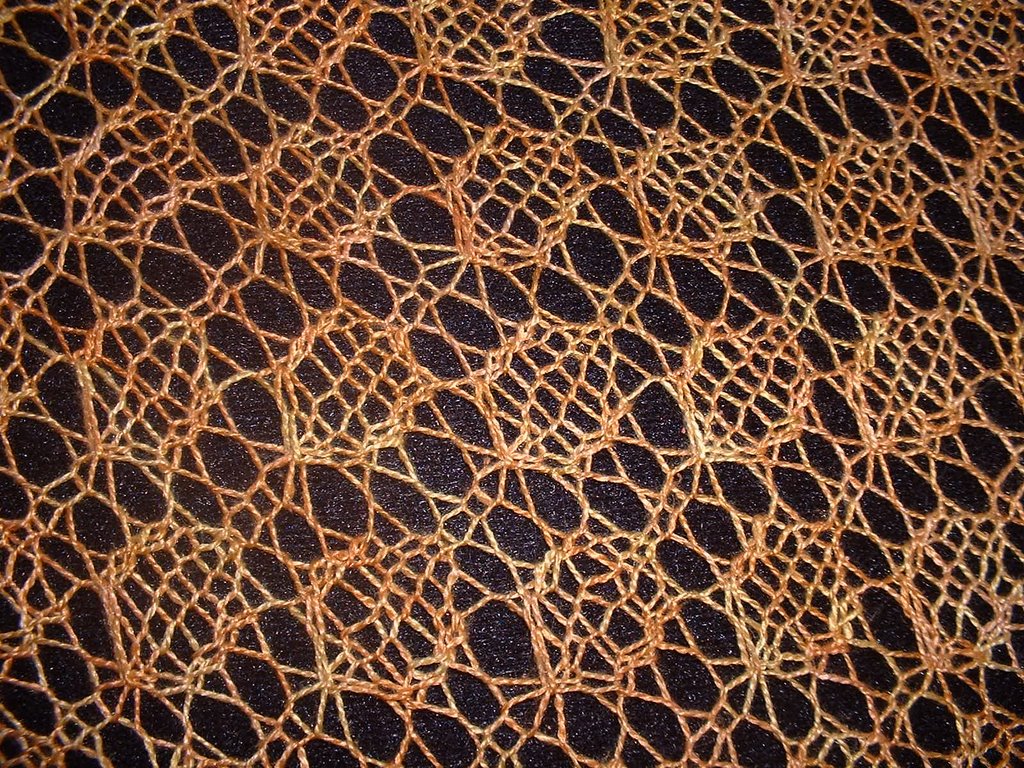
With this type of knitted lace, it's difficult to see the pattern unless you stretch out the piece. I stretched it as much as possible and got a good look at the Webs, Spiders and Diamonds in the Shetland lace. The shawl will have four pieces which will be sewn together. The center will be two rectangles, grafted together. A separately knitted lace collar will be sewn to one long side. Finally, a knitted lace edging will go around the entire shawl. This is a big project, and I hope to learn more about Shetland lace shawl construction along the way.

Tuesday, January 02, 2007

Hanky Panky

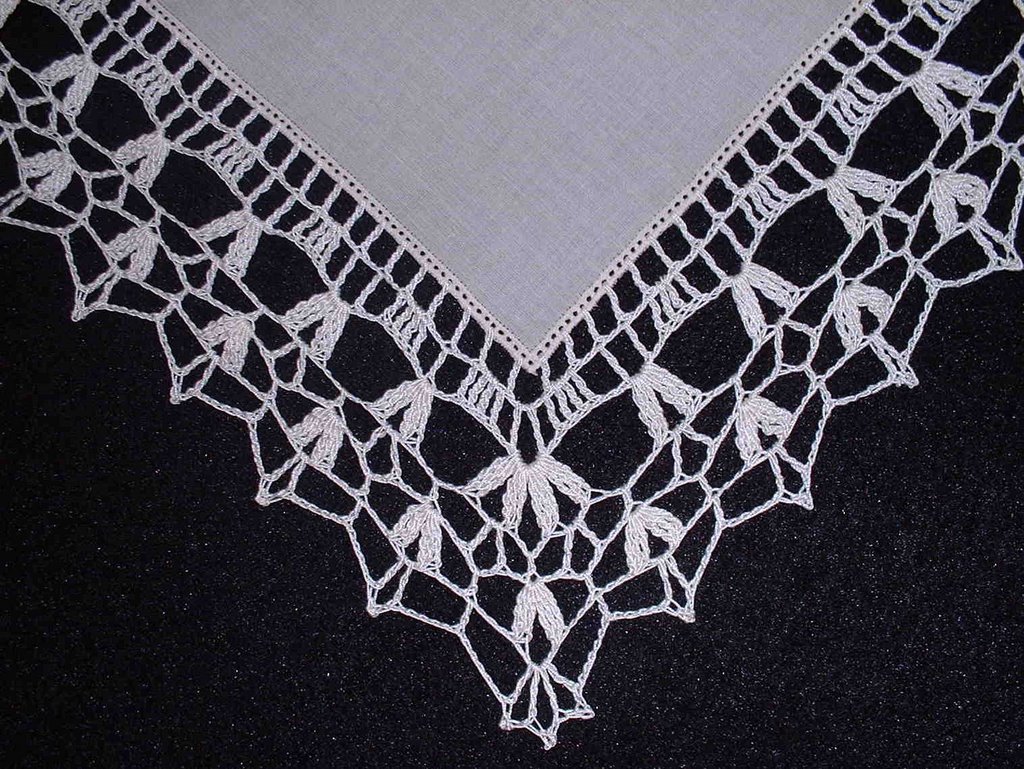
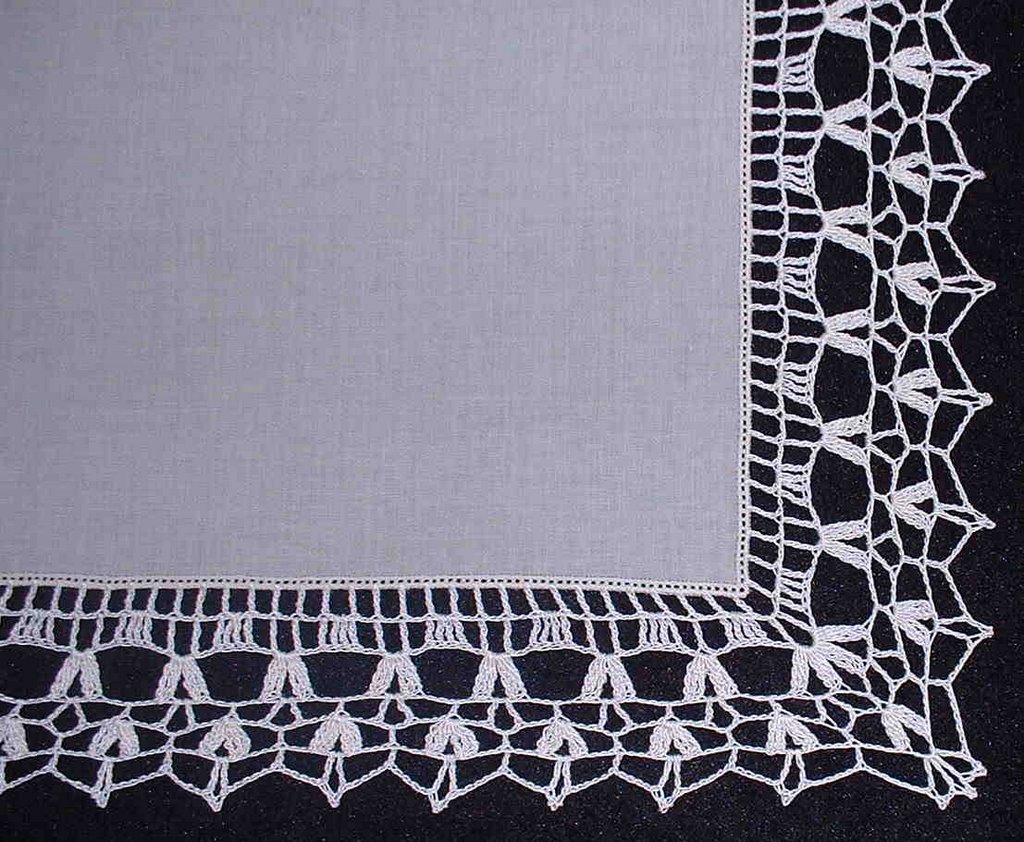
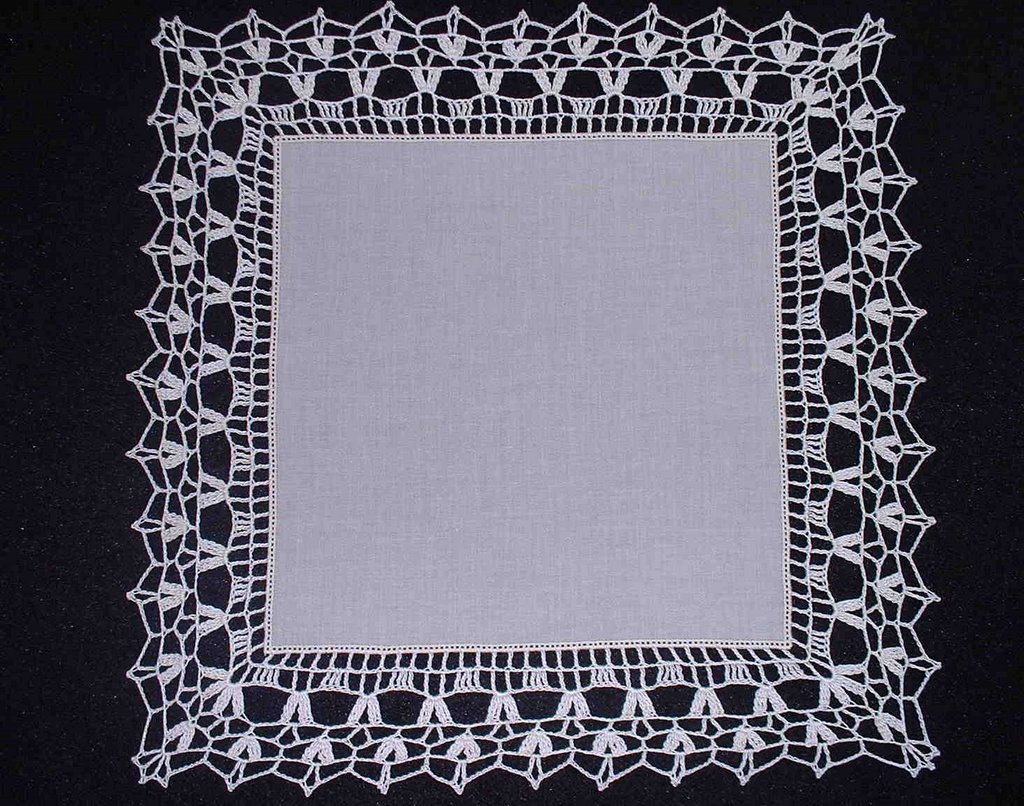
An edged handkerchief is elegant, especially when a bride holds it in her delicate hand. A friend at work is getting married this month, and I promised to give her something special for her wedding.

I had a hard time finding an off-white hanky to match her gown, so I took a plain white one and rinsed it in strong tea. It gave the hanky a vintage look.

I didn't want it very dark, or ecru, but a soft white. Hanky blanks are usually bright white, either cotton or linen. This one came from JoAnn's online. The key word when looking for handkerchiefs is "hemstitched." That means that the hanky has a row of tiny holes stitched along the edge, making it easy to crochet a border.

The thread is Coats Opera #20 in Ivory. Most of the edging patterns I have call for finer thread, but the openness of this crochet pattern allowed me to use #20 without it being too dense or heavy. I used a German #5 steel crochet hook, which I think equates with an American #12.

This was fast and fun to do. Now, I want to do a set of sheets! I have a lovely set that was hand-edged by my grandmother for her wedding in 1917. She crocheted the edging and embroidered her initial on them. She also made her wedding veil, still preserved in a trunk at my parents' house. My grandfather was a tailor and made his wedding suit.

Weddings always make me nostalgic!

To press the hanky, I will lay it on a pillowcase, spraying it lightly with Niagara spray starch. I prefer not to press it directly, so I will lay another pillowcase or cloth on top, and lightly steam press it. Then I will fold it into quarters and lightly steam the fold lines. This will make a nice presentation.

For storing, it should be laundered and pressed, but not starched. Starch can yellow with age. And we want this hanky to be passed on to the next bride, don't we?


Monday, January 01, 2007

Puntas Sweater at Mach 5

The baby shower invitation arrived two weeks before Christmas. My cousins were throwing the shower on 12/28.

I thought, "I've made baby sweaters in two weeks before ... no problem."

Well ... this one came down to the wire. Considering all the Christmas shopping, cooking and visiting, it's not surprising that I was finishing it up the day before the shower!

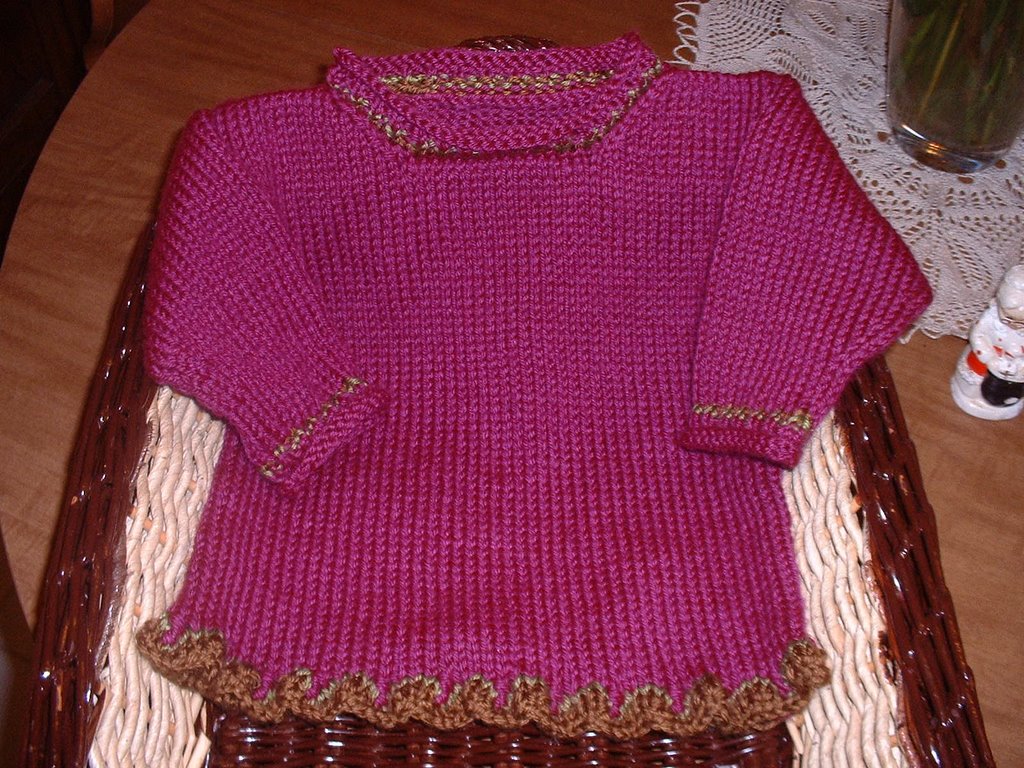
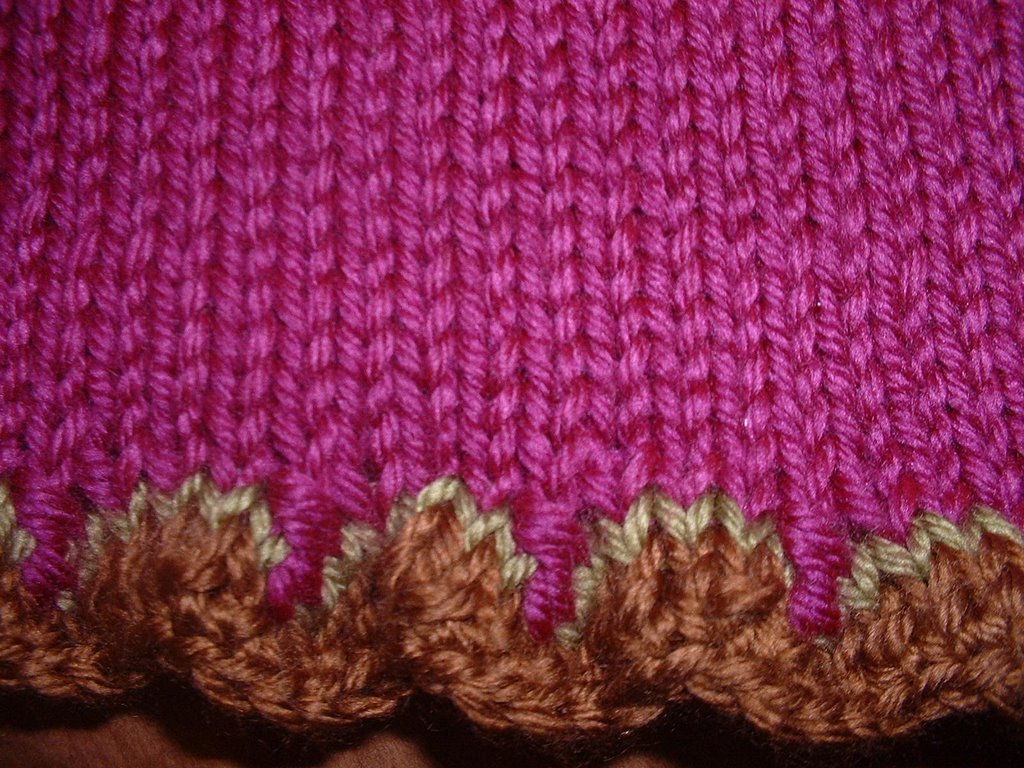
My cousin is the recipient of this Puntas Sweater, the pattern slightly modified from the Green Mountain Spinnery book.

The colors are magenta, spring green and light brown -- beautiful bright colors for a baby girl.

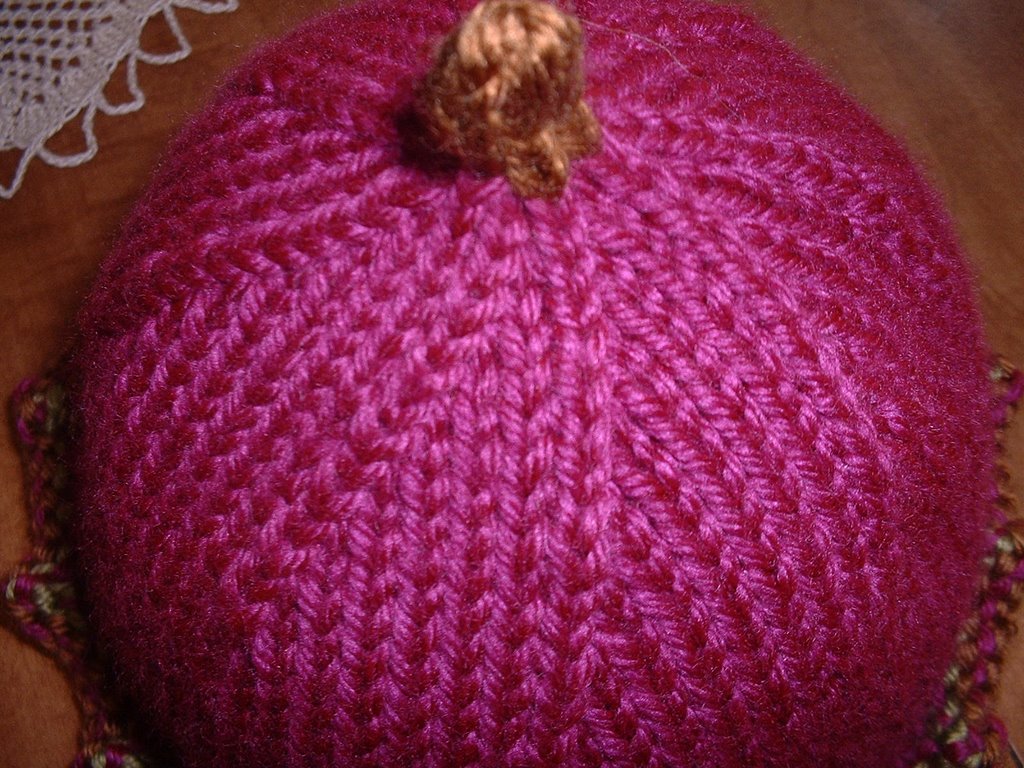
The "puntas" or points are the pointy things around the edges of the sweater and hat. I thought the puntas looked darling on the hat; they made the brim curl up just a bit. But on the sweater, I thought they looked a bit too curly, so I added a row of single crochet to tame the bottom ruffle.

The sweater has little green and brown accents near the cuffs, neck and puntas. The hat has similar accents and a brown "stem" at the top.

I like this pattern mainly for its simplicity and charm. It's easy to modify if you have the urge. The body is done on one circular and the sleeves and neck are finished with dpns. I made the hat with dpns, too.


Tuesday, December 26, 2006

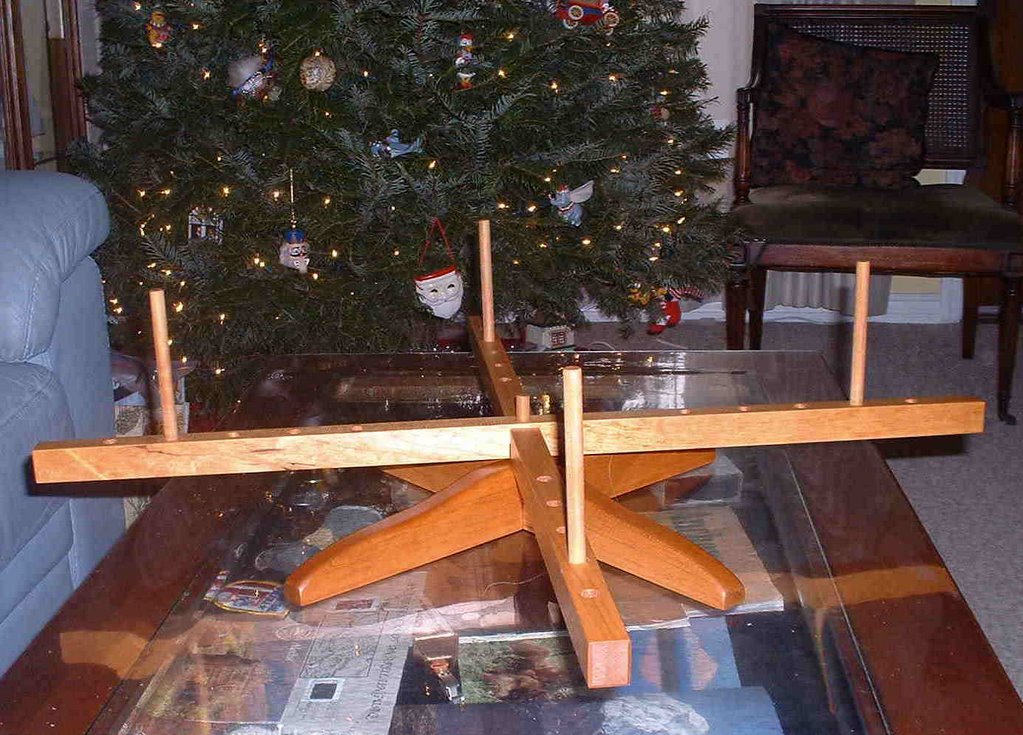
YoHo, YoHo, A Cherry Swift for Me

Guess what Santa left under the tree?

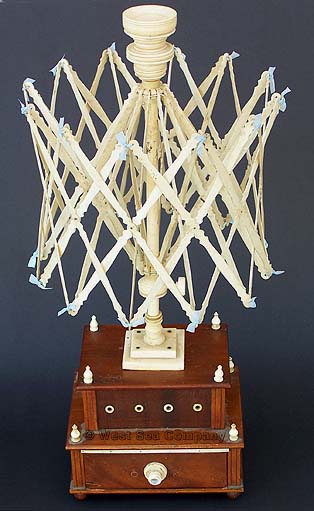
Well, it's something made from a tree. The smooth cherry wood pieces fit together perfectly. It spins like a happy little merry-go-round.

I am forever freed from hanging hanks of wool around my knees, or enlisting hubby's hands, or using the back of a chair.

I'm one of the holdouts who never thought she would have a need for a swift. After all, how many times do I really need to wind yarn? A few times a month? Aren't knees good enough for that?

Why have another "thing" cluttering up the den? My great-grandmother never had one. My grandmother never had one.

Basta! Enough!

My husband convinced me that I needed to embrace progress in the 21st century -- even though swifts are as old as ... well, older than my great-grandmother. Sailors carved
ivory umbrella swifts (scrimshaw) on whaling ships in the 19th century. I'm sure swifts were around in some form well before that.

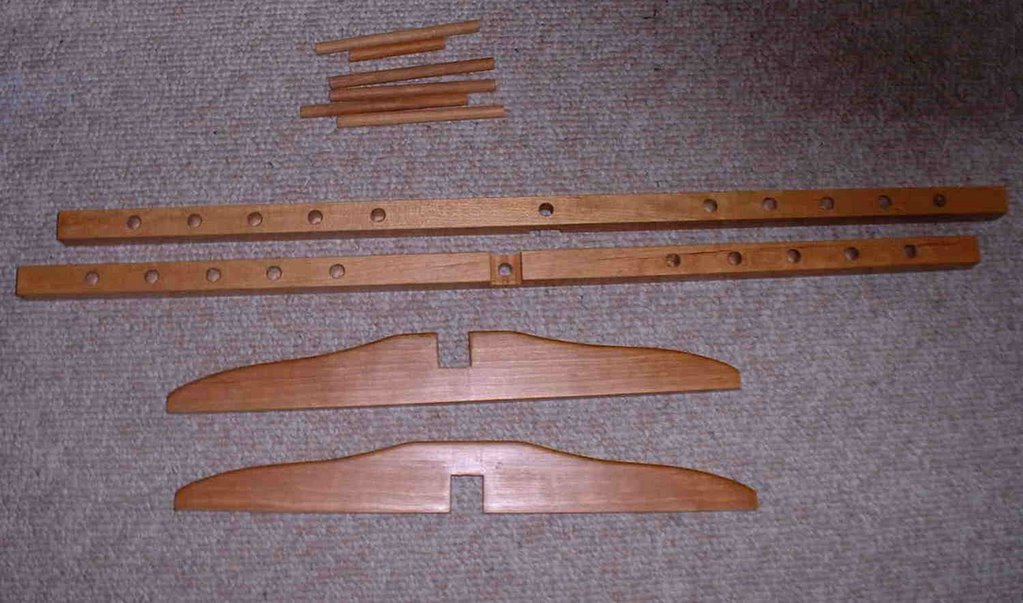
My swift is from Knitting Notions, a small, family-run business in Nashville, TN. They sell swifts, hand-dyed yarn, shawl pins, and other things for knitters. Their swifts are all handmade from solid hardwoods like cherry, walnut, mahogany and oak, and they are hand-finished with a blend of tung and linseed oil, and a topcoat of beeswax.

It came in a handy cotton storage bag. The pegs were in a small Ziplock bag to keep them together.

I am in no way affiliated with this shop, but I am a very happy recipient of a beautiful cherry swift.

Santa baby, slip a swift under the tree, for me
I've been an awful good girl
Santa baby, and hurry down the chimney tonight ...

Tuesday, November 28, 2006

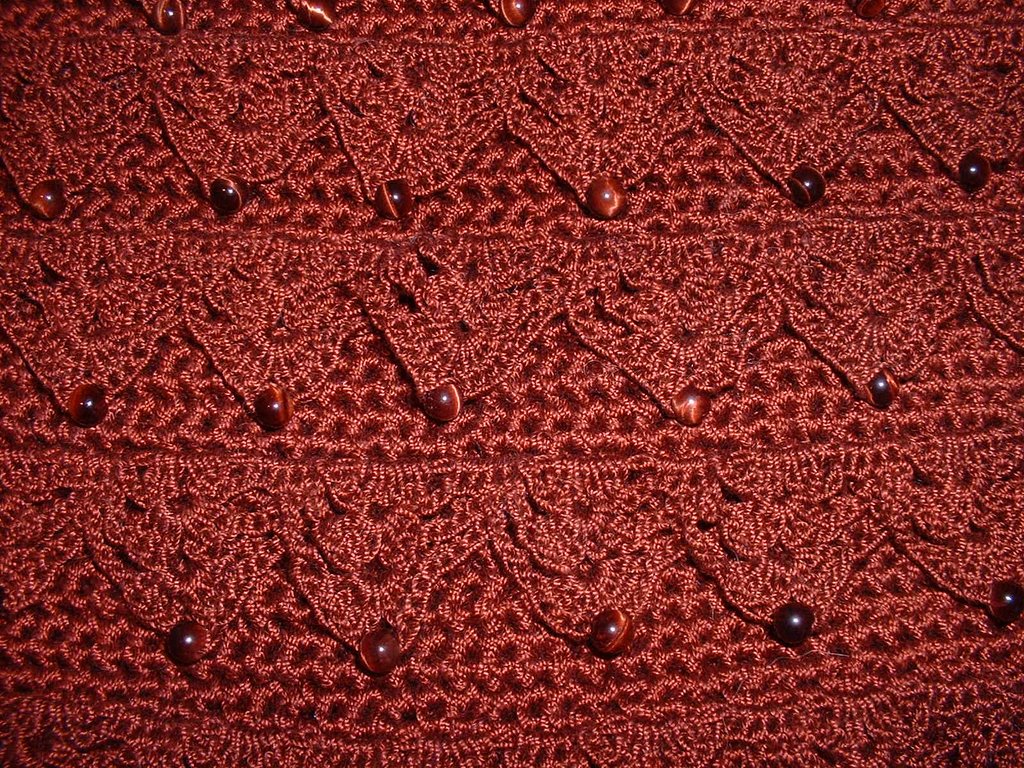
Opera Bag with Tigereye Beads

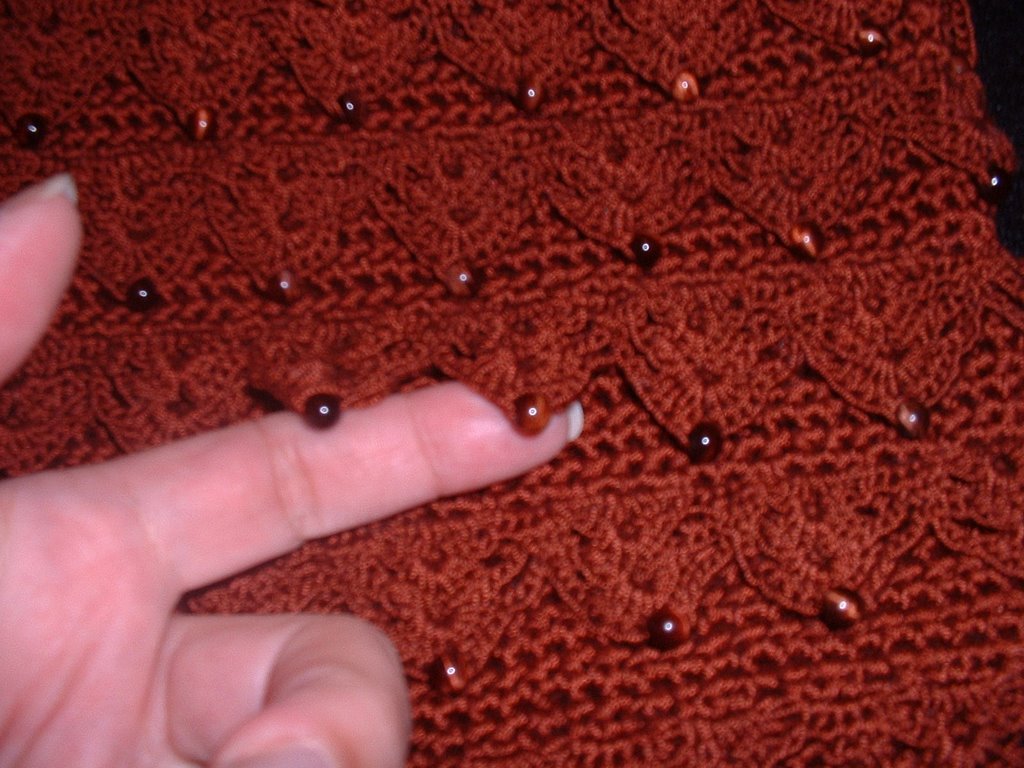
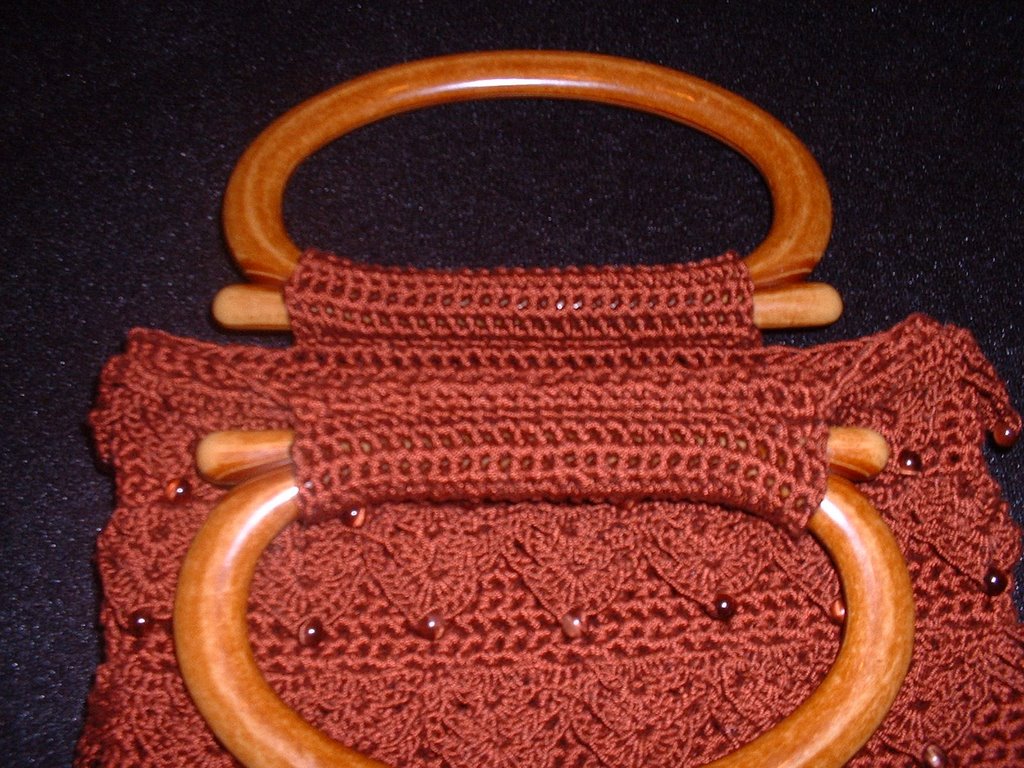
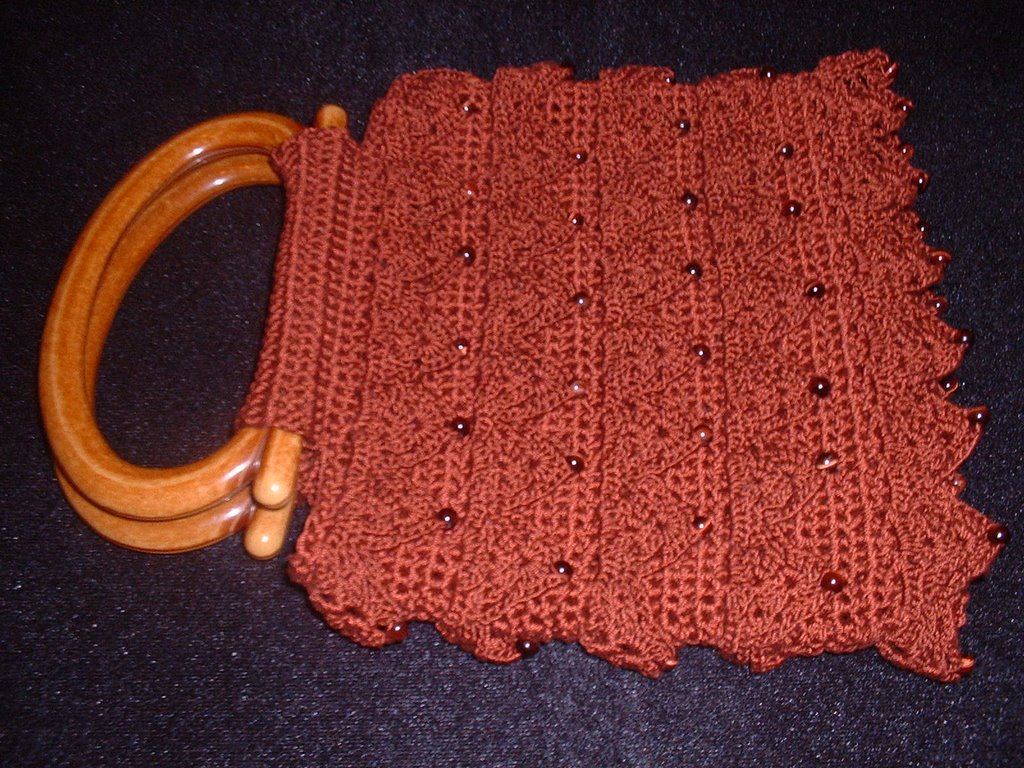
This Victorian-inspired crochet bag was designed by Doris Chan for the Fall 2005 issue of Vogue Knitting. I had made the bag this past April, but it was never finished because I hadn't found the right handles. That is, I didn't find any that I liked until just recently, when I happened upon some lovely Crystal Palace handles at Cottage Yarns in South San Francisco.

The original pattern called for four balls of Coats & Clark Opera #5 thread in Cream with pearl beads. I ordered my thread from Yarn & Thread by Lisa in Russet - a deep auburn color. Then I found the beautiful dark red tigereye beads on eBay that were just the right size (6mm).

The beads were fairly easy to crochet on. For each tier of trim, the last round is a beaded round. When I got to a spot that required a bead, I put down the size D hook required to crochet the pretty shell trim and used a size 13 steel crochet hook. I slipped one bead onto the steel hook, and pulled the working loop through the bead. Then I put down the size 13 hook, reinserted the size D hook into the working loop and continued on my way.


The casing for the handles is straight single crochet, one casing made on each side. Each casing was folded over each handle and stitched down inside the bag.


I'm happy with the way this finally turned out after months of looking for proper handles. It's ready to go out on the town!

Monday, November 06, 2006

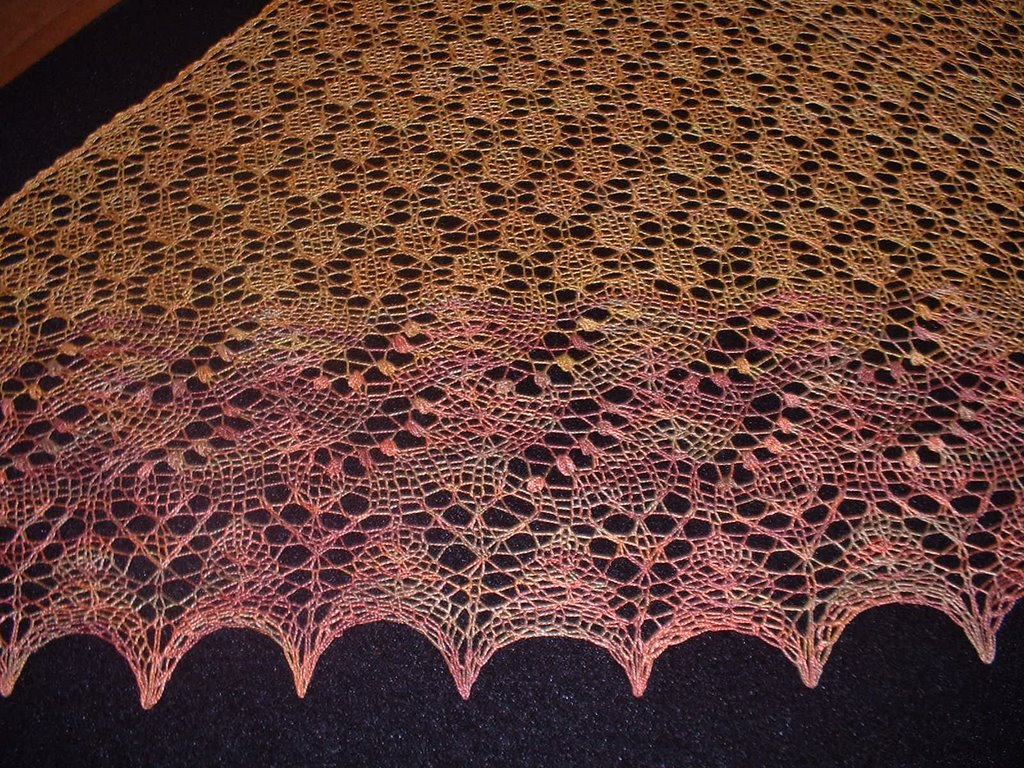
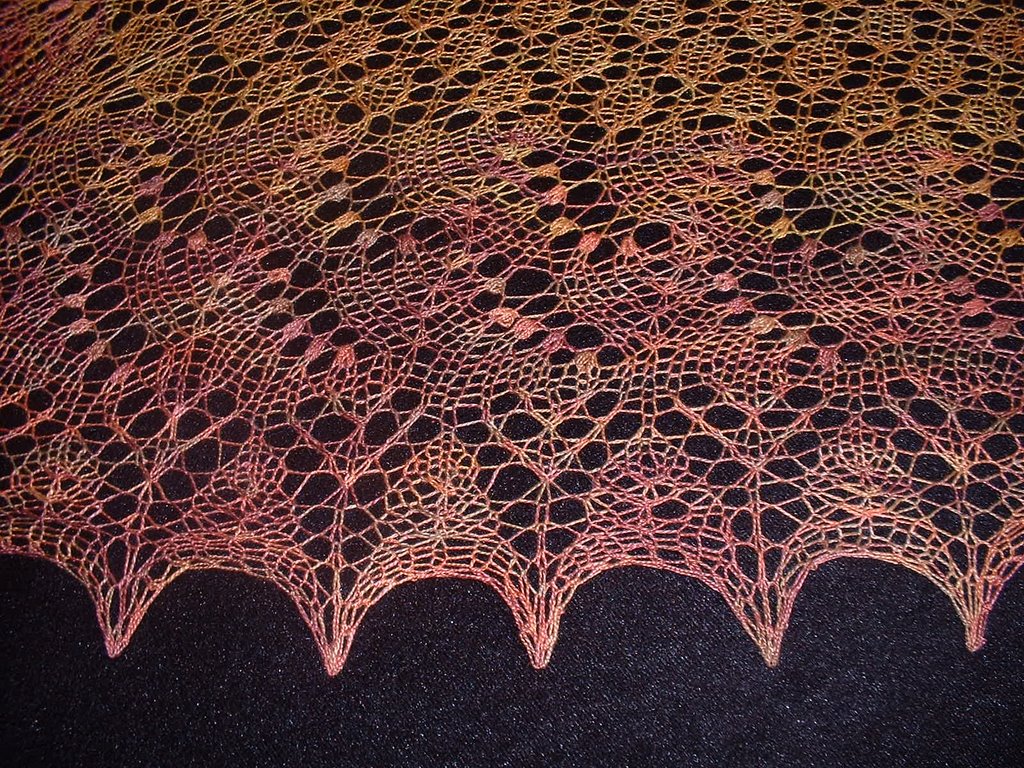
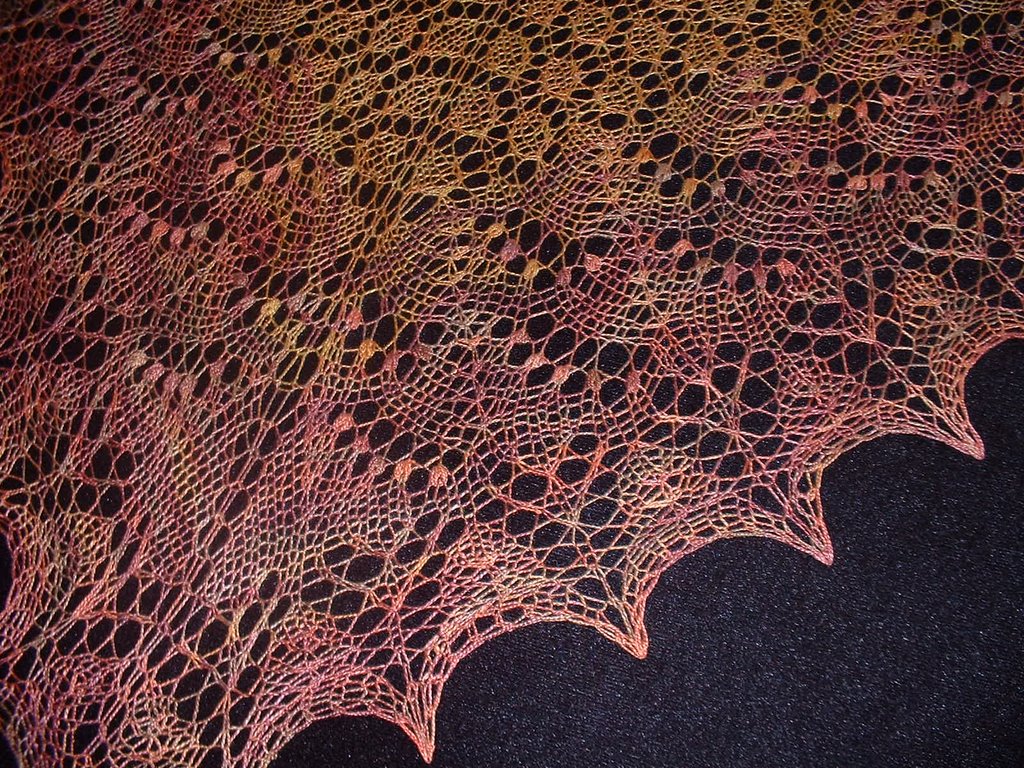
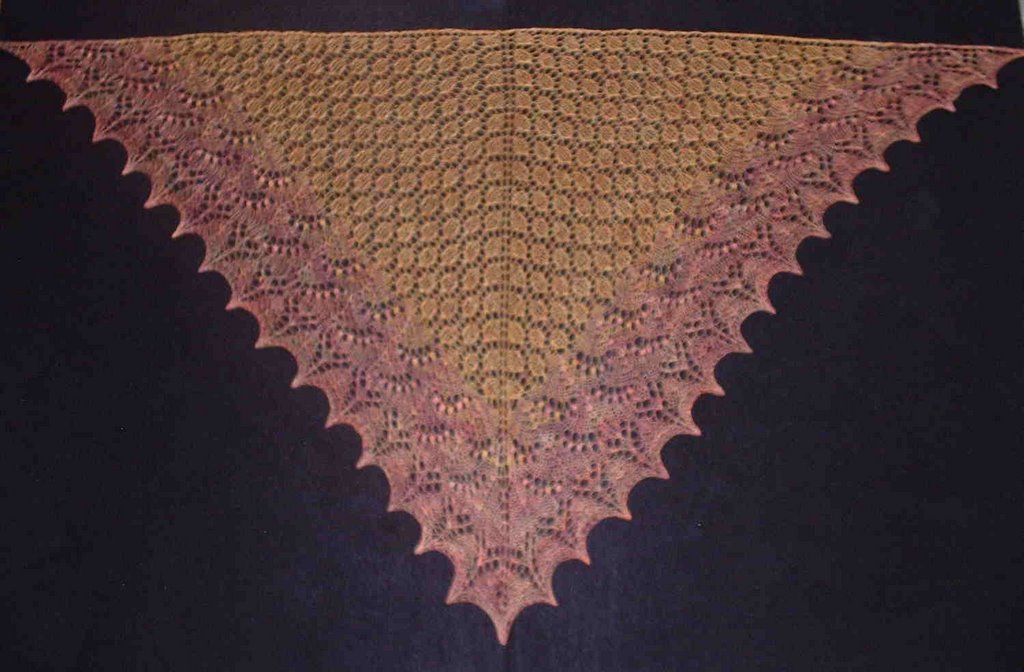
Swallowtail Shawl in Silk - Completed!

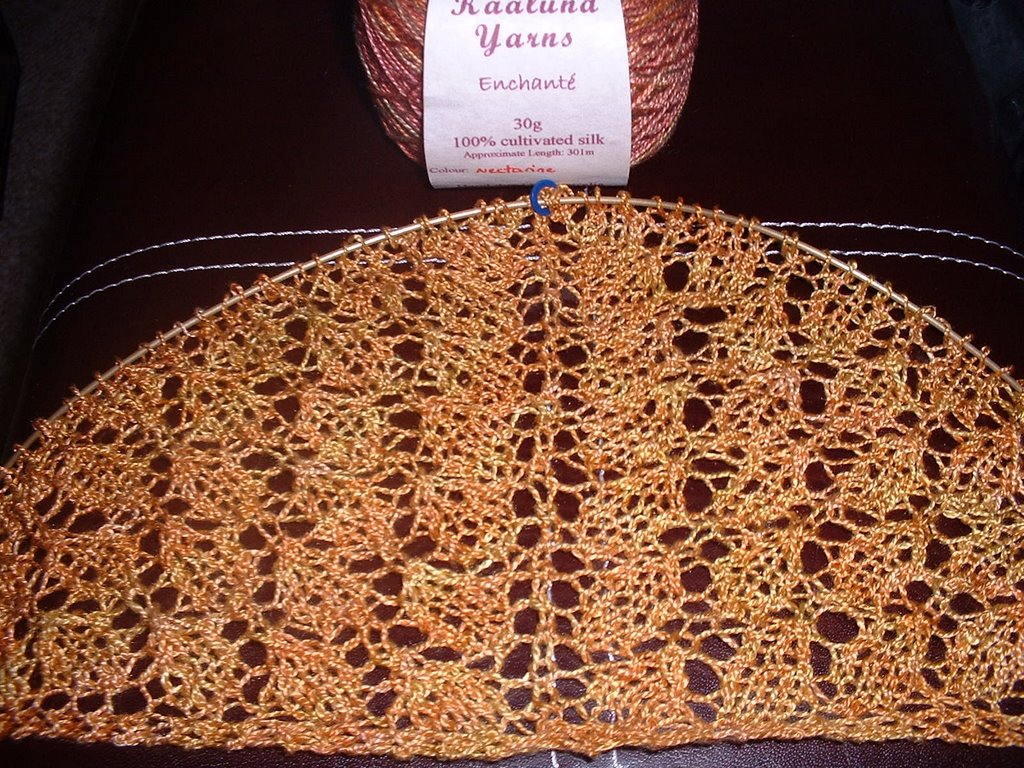
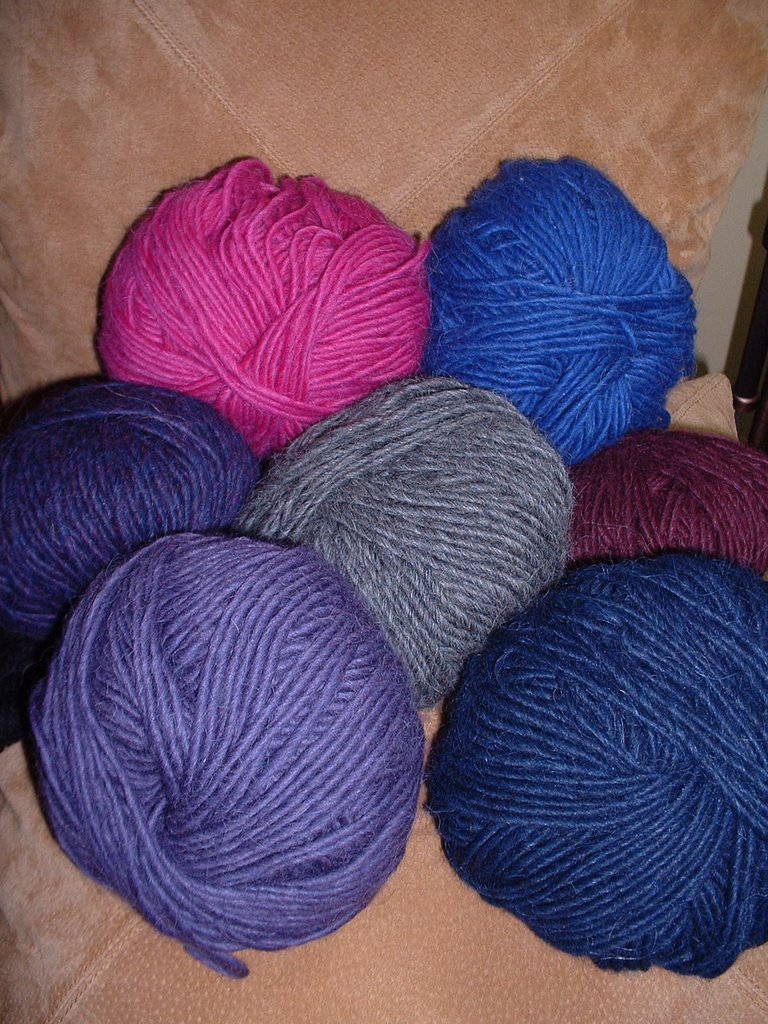
The Swallowtail Shawl is completed! I used two colors of Kaalund Enchante 100% silk laceweight, Silky Oak and Nectarine. Kaalund is an Australian brand, and I purchased it from Greenwich Yarn in San Francisco.

The shawl begins at the top center and is worked outward. The main body is in a Budding Lace pattern, followed by two tiers of the Lily of the Valley border and is finished with a Peaked Edging.

I'd have to say that this is a fast knit compared to other lace shawls I have made. It took less than a month to complete, and I was working on other projects as well, so I didn't work on it every day.


My best decision was made before I began. I chose two colors and wanted a subtle transition from one to the other. I wanted to achieve a "sunset" effect, and I'm pleased with the outcome.

The first part in the Budding Lace pattern is all in the color Silky Oak. The color change occurs in the first tier of the Lily of the Valley border. I knitted two rows of Silky Oak and two rows of Nectarine, then two rows of Silky Oak and two rows of Nectarine again. These two dyelots have a common golden color, so the transition was as subtle as I had hoped. I also like the way the nupps in the transition section are multicolored as a result of the color changes.


I've read about the "nupps" on various blogs. The general knitter consensus seems to be: we love how they look, but we hate making them. I think the roundness of the true nupp makes a difference. True nupps are five stitches purled together (p5tog). Slip 2, purl 3 together and pass the slipped stitches over is another way of accomplishing a nupp, but the shape is slightly different and not quite as round. See my previous post to learn how I accomplished these round nupps without going crazy.
The second tier of Lily of the Valley and the Peaked Edging is worked completely in Nectarine.


Blocking was fast and easy. I threaded a 1/16" welding rod through the eyelets at the top edge and secured the rod to my blocking board, making sure the right and left corners were pinned down tightly and placing just a few pins under the rod to keep it straight and even. Then I pulled the bottom point down as far as it would go and pinned it to the board.

After that, I pulled the center point of one side out and pinned it, then switched to the other side and pinned the center point, stretching hard each time to open up the lace. I continued in this manner, pulling out a point on one side and the corresponding point on the other side, taking care to keep the points evenly spaced.

After every point was pinned, I went all the way around making minor adjustments to the pins, because as I stretched the lace, some points pulled a little too much to the left or right and I wanted them to point straight out.


Saturday, October 28, 2006

Swallowtail Shawl in Silk


The Swallowtail Shawl from Interweave Knits Fall 2006 issue appears to be everywhere in blogdom. I had decided to make this short, lacy shawl when I first saw it a couple of months ago, before I knew about the knitalong blogs. Yes, there's more than one!

I'm glad I waited to find just the right fiber.

This yarn is Kaalund's Enchante, a 100% silk laceweight. It's a superfine laceweight, but not cobweb. And the
colors! I'm using Silky Oak for the first section - a subtly variegated peach and gold - and I'll finish it off with Nectarine (the slightly more peachy-red yarn ball in the photo). I'm hoping it will look something like a sunset, but the proof will be in the lace.

So far, my only qualm about this yarn is that it doesn't "give" or stretch, so knitting the p5tog's in the Lily of the Valley border is a challenge. I choose to knit these nupps with a small crochet hook. The shawl is on a size 4 circular, and the hook is #5 steel.

What works for me is sliding the hook from right to left under five stitches on the lefthand circular needle, hooking the working yarn and pulling a loop through the five stitches. Then I slide the five stitches I just worked off the lefthand needle and put the new loop on the righthand needle.

Saturday, October 21, 2006

Niebling Small Doily - Starting & Ending Tips

Here's another finished Herbert Niebling doily! This one is from a pattern published in Lena magazine (Germany). This September 2006 issue also contains a lovely Niebling tablecloth pattern.

Many thanks to Courtney on the
laceknitters list for the translation from German to English!

Also many thanks to
Judy Gibson who researched and found the smaller doily was published previously in Kunsthakeln & Kunststricken, as part of a series, and called "Strick & Shrick, Sonderheft No. 3." Judy notes that the designer Niebling is not credited in the previous publication.

I made the doily using size 0 needles and DMC Baroque thread. This thread is not my favorite, but it does block nicely. It doesn't have the silky sheen of DMC Cebelia thread. I would recommend Baroque for everyday items and Cebelia for heirlooms.

Some people have asked how I start a doily like this. I prefer the
Emily Ocker start, something I learned a long time ago. Basically, make a loop of yarn around your finger, and then crochet the number of stitches needed to start the doily into it. Then, divide up the stitches onto DPNs and start knitting. When using fine thread, it sometimes takes me several tries! The DPNs have a tendency to flop around, so I support them on top of a pillow on my lap until I've knit a few rounds. After knitting a few inches of the pattern, I pull the tail of the thread to close up the center hole.

Another method for a circular start is
Rosemarie's bellybutton start, which has become quite popular with lace knitters. This is similar to the I-cord start, which entails knitting a short length of I-cord with scrap yarn, then switching to the project thread to begin knitting your pattern. After knitting a few inches of your pattern, you can unravel the I-cord, weave the tail of the project thread through the first pattern row and pull the tail snugly to close the center hole.

Finishing is another story. I came across some very old German steel crochet hooks at a flea market a while back and bought about ten of them in various sizes. Some of these old hooks have sharper tips than most modern hooks I've seen. For me, a pointier tip is great for crocheting off a doily. This Niebling doily required slipping five stitches off my circular onto the crochet hook, then slip-stitching through all loops on the hook, leaving one stitch on the hook. Next, I chained 12 (ch12), then slipped five more knit stitches onto the crochet hook, continuing in this manner until all stitches were crocheted off.

To block, I rinsed the doily in cool water and rolled it in a towel to soak up excess moisture. I pinned out each ch12 to a a nice sharp point. I also measured the diameter all the way around to make sure the doily was round and even. A good blocking board is essential.

Sometimes I use spray starch or "sizing" to finish off a doily. I only do this after the doily is blocked and dry. This is fine for doilies that see occasional use and may be washed and blocked again. If a doily will be stored for a long time, I don't like to use starch which may yellow with age.

If you press a doily with spray starch, I suggest using a hot iron with steam, a dry doily, Niagara spray starch, and a white towel or pilowcase underneath on the ironing board (or you'll end up with a starchy ironing board pad). Personally, I prefer the texture of an unpressed doily.

Of course, there are many ways to to start and finish, but these are the things I've learned and have used with some success.

Thursday, October 05, 2006

Architectural Fall

September ... what happened to September? Okay, I've been neglectful, but now it's October and Fall has dropped beautiful colors all around me. What project to take on next? I've got several in mind, and a few were started in busy September.

Kristin Omdahl shared with me a few new patterns to spice up the fall and winter. I'm currently working on a luscious wrap in Paca de Seda yarn, 80% wool and 20% silk. This stuff is soft and drapey ... and very warm for the cool months ahead.

I went to the
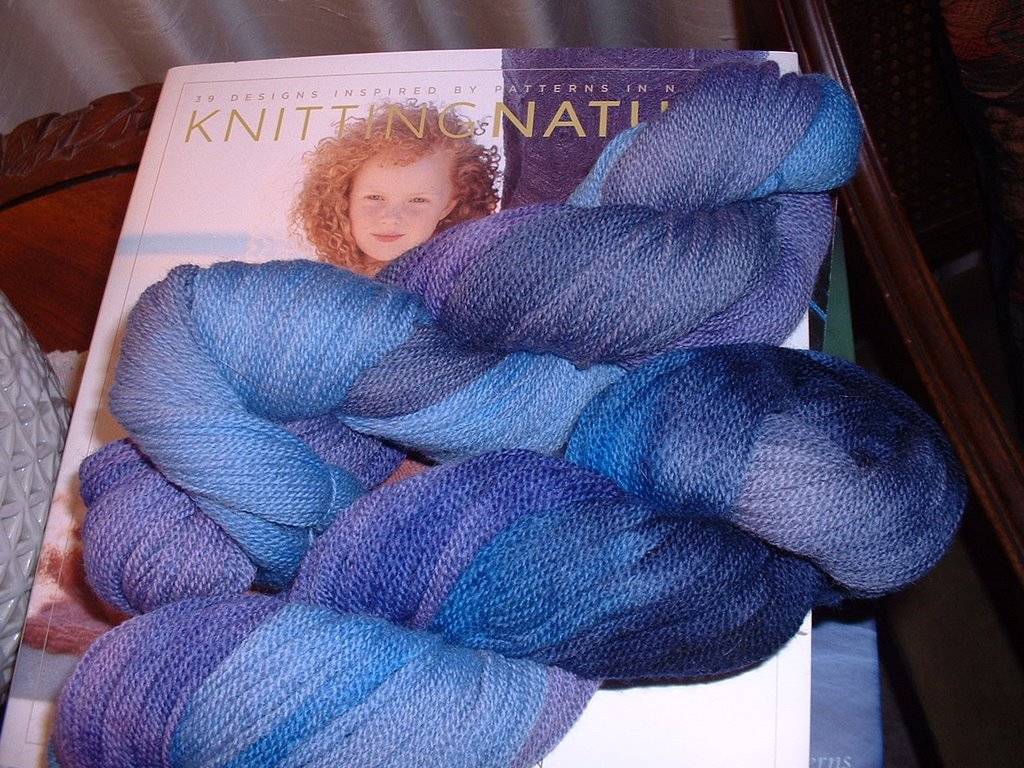
Knitting Nature trunk show at Greenwich Yarn in San Francisco and saw firsthand the fabulous sweaters featured in Nora Gaughan's book. The Ogee Tunic is absolutely lovely, knit in a fine yarn with distinctive textural features that set Nora's patterns apart. The other sweater that I found elegant with tailored finishing is the Ram's Horn Jacket. I'd probably make it a bit longer for me.

By the way, those two gorgeous skeins of laceweight wool pictured on top of the book are from
Inspirations Yarn. Margaret hand dyes her yarn in small batches, and the colors are phenomenal. These two lovely skeins want to be something, but I'm not sure what yet. I've got about 840 yards.

I also began working on something I had been thinking about for a long time. The last pattern in the book
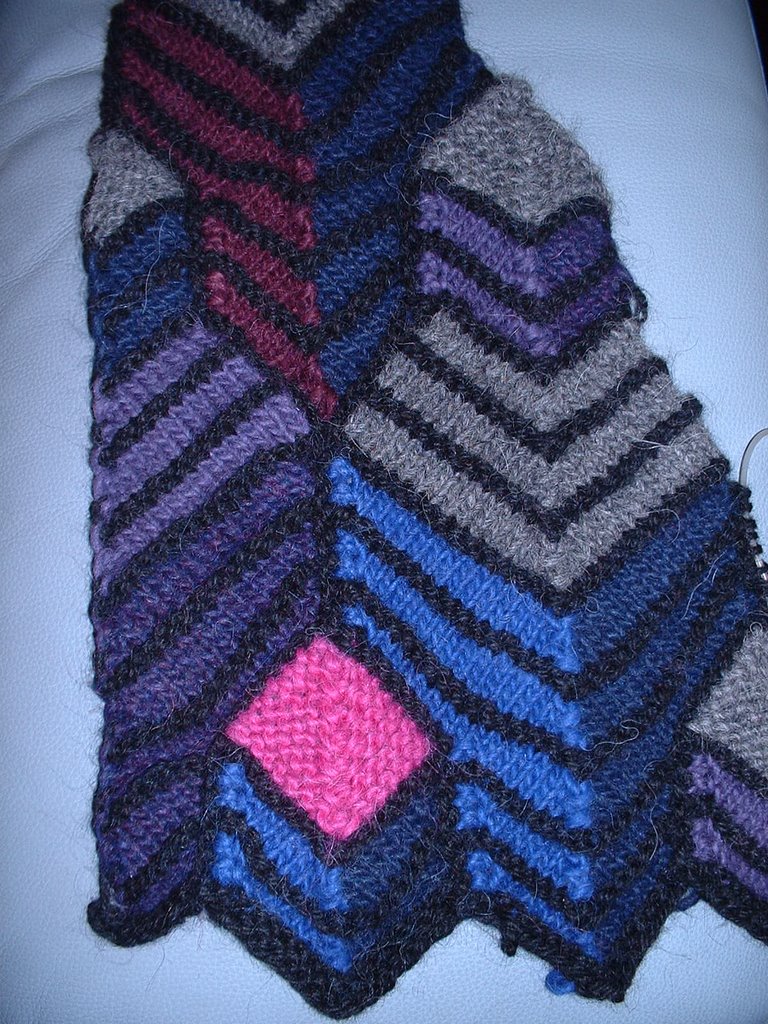
Dazzling Knits by Patricia Werner is the Metropolis Coat. The architectural design is mesmerizing. I had been storing up Classic Elite Montara and Cascade Pastaza for literally years, waiting for something to inspire me. If you haven't seen this book, it's filled with unique modular designs that build one upon the next, picking up stitches from the side of one module to add another. The Metropolis Coat and the Mola Jacket really caught my attention. I decided to stick with the purple-plum-blue tones for the Metropolis. I never would have guessed I would be using ALL my colors of this soft llama/wool blend to make one garment. (Montara and Pastaza are the same, both 50% llama and 50% wool, a somewhat chunky single.) The black lines throughout the pattern are the main color that improvise a stained glass look.

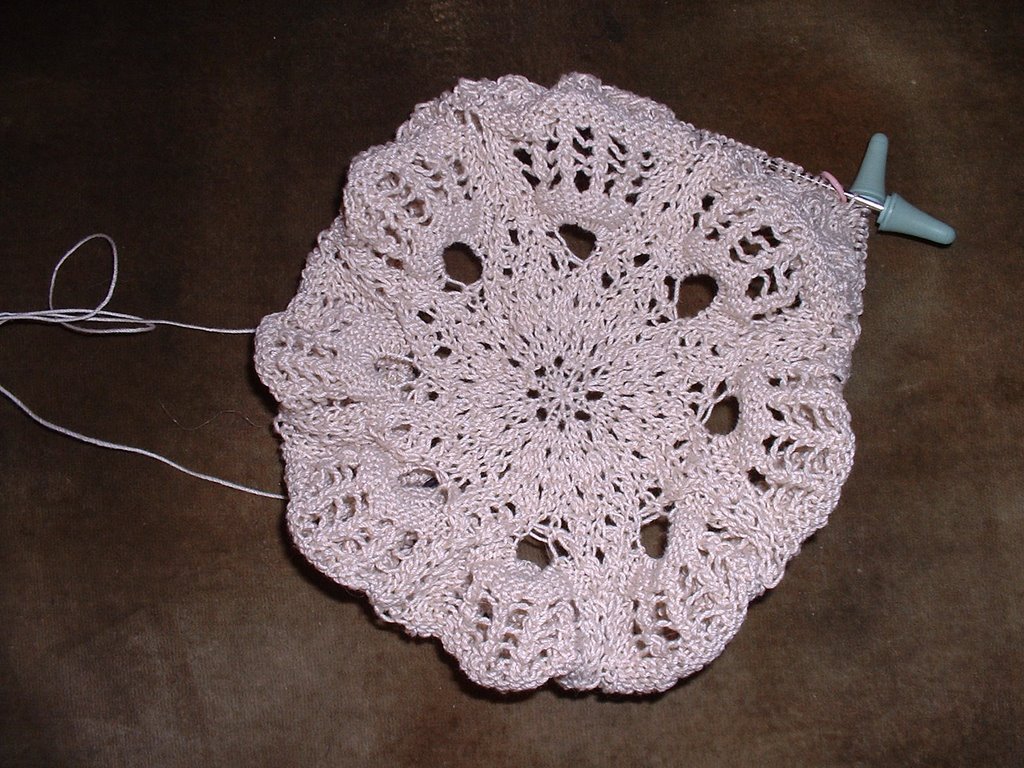
Aside from knitting, work and family pulled me in various directions. It's not surprising that I couldn't pin myself to one project at a time. I also started this small Herbert Niebling doily from the September 2006 issue of the German magazine Lena, purchased from Martina's Bastel und Hobbykiste in Germany. Martina is a member of the Knitted Lace list, and she speaks English. Her website is mostly in German, but if you click on the British flag on the homepage, you'll find it's easier to navigate. The doily is worked in DMC Baroque cotton and size 0 needle. The cotton is not the nicest, with little sheen compared to the lovely DMC Cebelia that I used for the Lyra.

Other cottons I've used are Opera and Manuela. Opera is shiny and smooth, made by Coats, and comes in a wide variety of colors and weights. You can order Opera from
Yarn & Threads by Lisa. She has a good selection of colors and fast shipping. (I am not affiliated.) Supposedly, Manuela thread has been discontinued, but you can still find it in some shops.

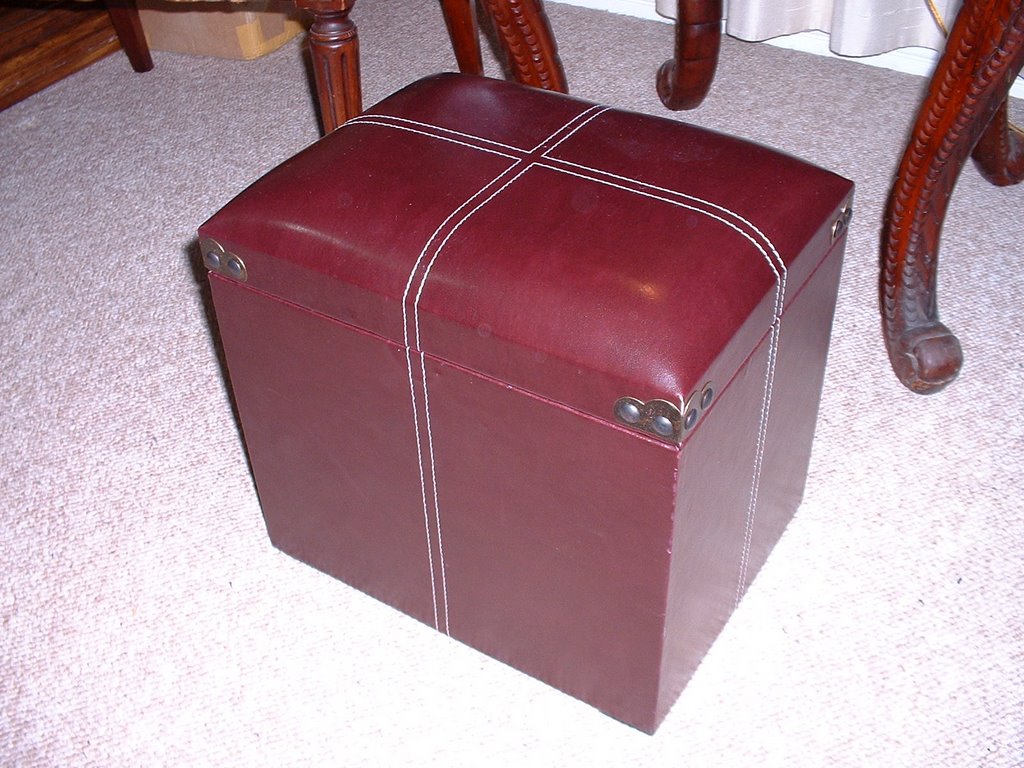
Unfinished projects abound. It's a good thing I found this lovely faux leather box at Joann's last week. It holds a lot and fits nicely next to our sofa. When the lid opens up, it stays up, so I can sift through my knitty bits without too much trouble.

Wednesday, August 30, 2006

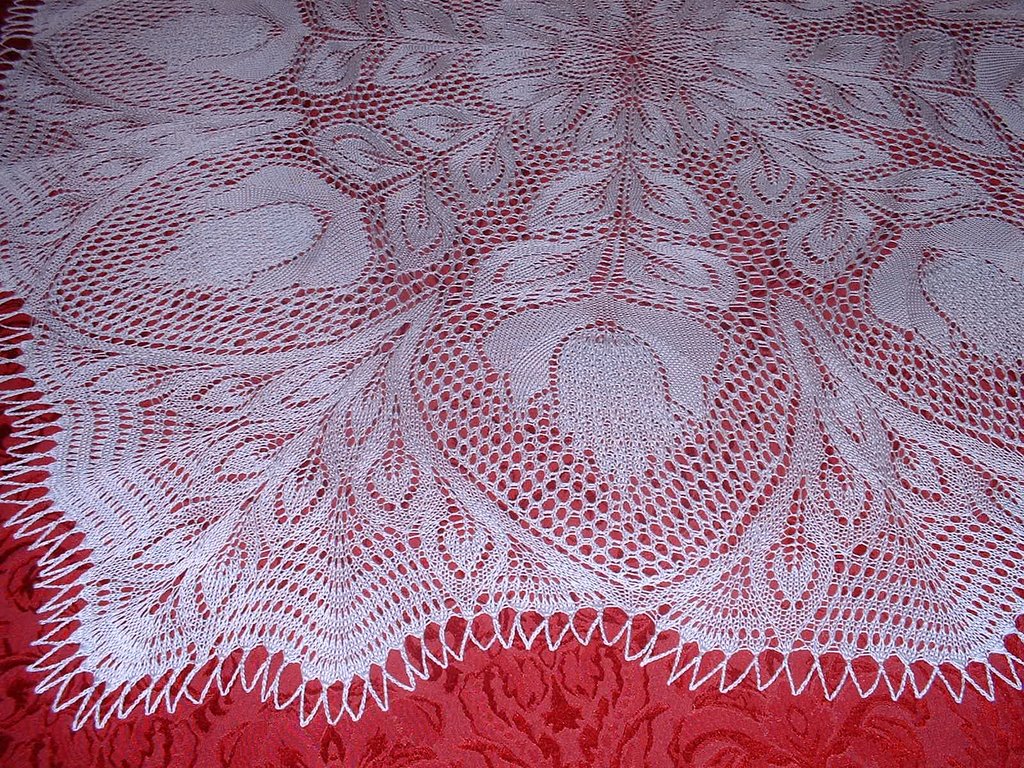
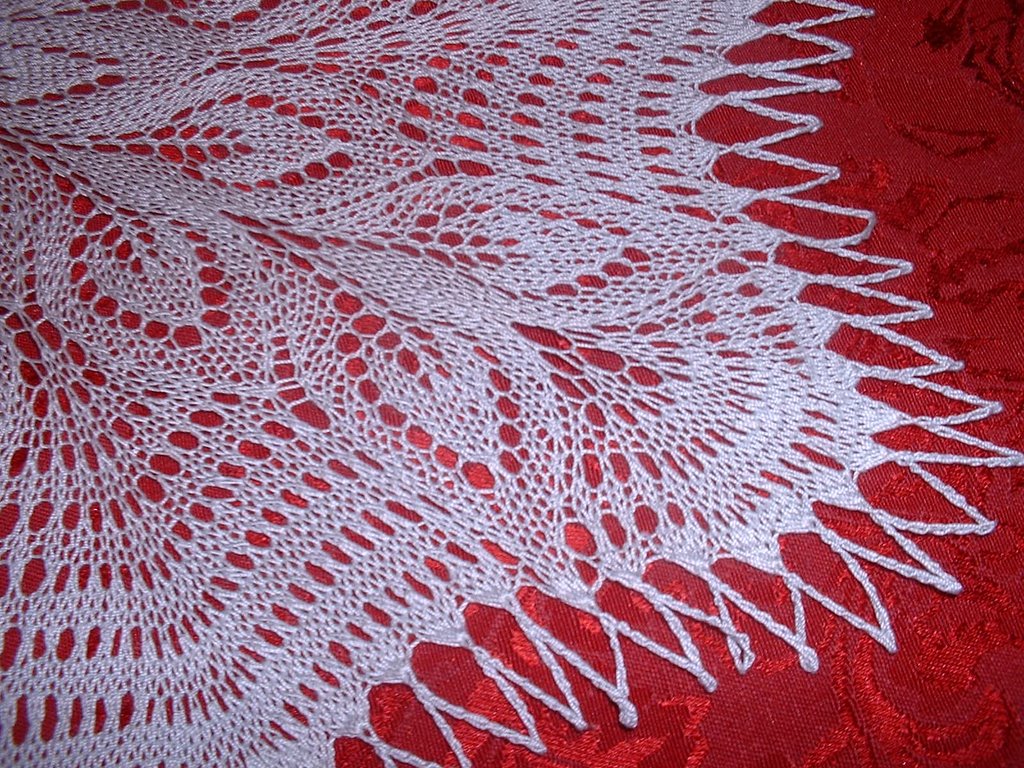
Lyra ... Completed!


And here she is!